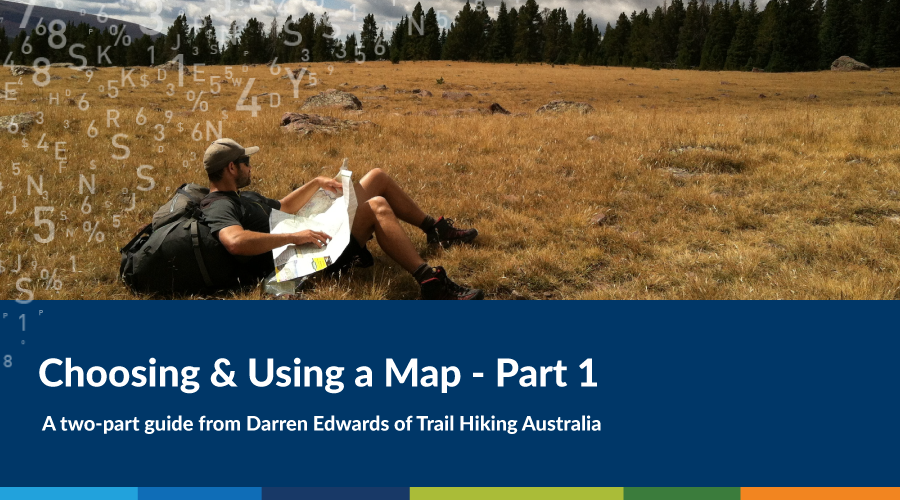
 If you’ve ever gone hiking and felt a bit ill-prepared, you’re not alone. Darren Edwards of Trail Hiking Australia has met plenty of hikers who can’t quite find their way. However, with a great map and some basic knowledge, you’ll be steering the way in no time.
Learn how to choose and read a map with Darren below.
This series was originally published as a blog post on trailhiking.com.au. View the original article here.
I often meet other hikers on the trail who seem confused about their location or direction of travel. Most are not carrying a map and simply expect that their will be an obvious trail or markers to define the way. Other people I meet have a map but simply cannot read it.
Knowing how to read a map isn’t difficult, for most people, given training, a bit of practise and continual use. The symbols, topography lines and direction helpers all might require a little understanding, but the answers are all right there! We’ll show you how to find the key to finding your way!
Choosing the Right Map
Choose the right map. A wide variety of maps are available for a wide variety of uses. For example, there are;
- Road maps for drivers with highways and byways.
- Tourist maps for sightseeing, with famous landmarks or conspicuous celebrities.
- Topographic maps for hikers or back country, featuring paths and campgrounds.
- Sectionals, or maps for pilots that feature air routes, terminal areas, plus landmarks and tall things that planes would be wise to avoid.
- A good general free online map for certain parts of the world is Google Maps. However, this may not be available to you when needed, so it’s important to learn how to read printed maps too.
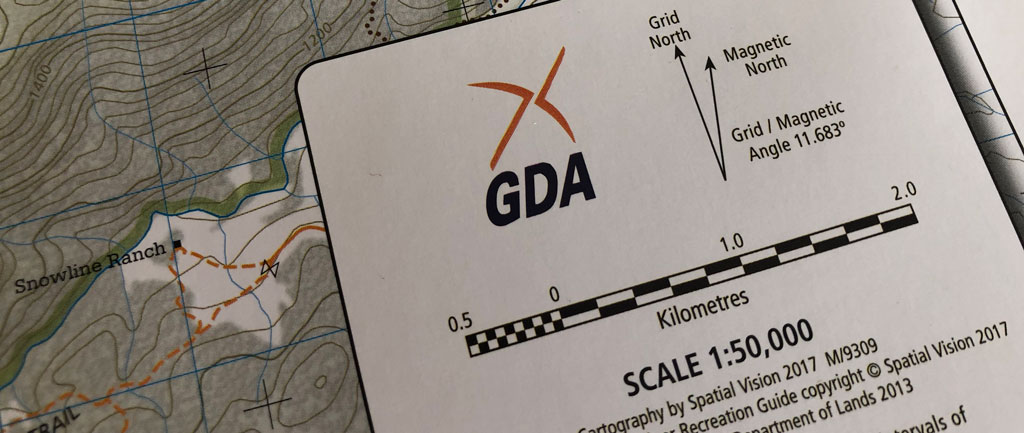
For all hikes I undertake I actually use my smart phone and hand held GPX as a quick update on my current position but I always plan my hikes using a scaled topographical map and I always carry a map and compass in my pack. For most hikes around Victoria I highly recommend the Outdoor Recreation Guides by SV Maps. I use them every time I am hiking in the areas where maps are provided.
SV Maps contain excellently detailed topographical and trail data, as you would expect, but there are a few things that set them apart from other maps I have used. One of the things I love are the distance markers defining sections of hiking trails. This reduces the need to measure scaled distances with your compass and allows for educated decisions to be made when planning your hikes.
SV’s Outdoor Recreation Guides also come with local flora and fauna information, local area history and a range of walk suggestions. This thoughtful features truly assists in hike planning as it allows you to better understand the trail you intend on hiking as well as explore trails that you may not have been aware of. I have used this features many time in order to combine trails into multi-day hikes.
I highly recommend you check out SV Maps and always carry a map with you.
Understanding the Map
Check the map’s orientation
Most maps are drawn with north located at the top. Sometimes this may be depicted using a compass rose. Or, it might simply be stated to be the assumption of the map. If there is no indication to the contrary, presume it is north at the top.
Understand the scale of the map
The map scale shows you a ratio of map distance to real distance. These differ in size from map to map. Look for the scale, generally located on the side or bottom of the map. It will look something like 1:100,000, which denotes that 1 unit on the map is the equivalent of 100,000 units in real life. In general, the following scales work best as stated:
- 1:25,000 map for hiking
- 1:190,000 map for driving
- 1:24,000,000 map for seeing the entire world.
To determine how far your destination is, use a ruler (found on your compass) and the scale to measure how many kilometres it is from point A to B. For example, if your map’s scale is 1:25,000, and the distance from point A to point B is 15 cm, the total distance is 15 x 25,000 = 375,000cm. One kilometre is 100,000 cm, so the distance from point A to point B is 375,000 ÷ 100,000 = 3.75km. Confused Yet?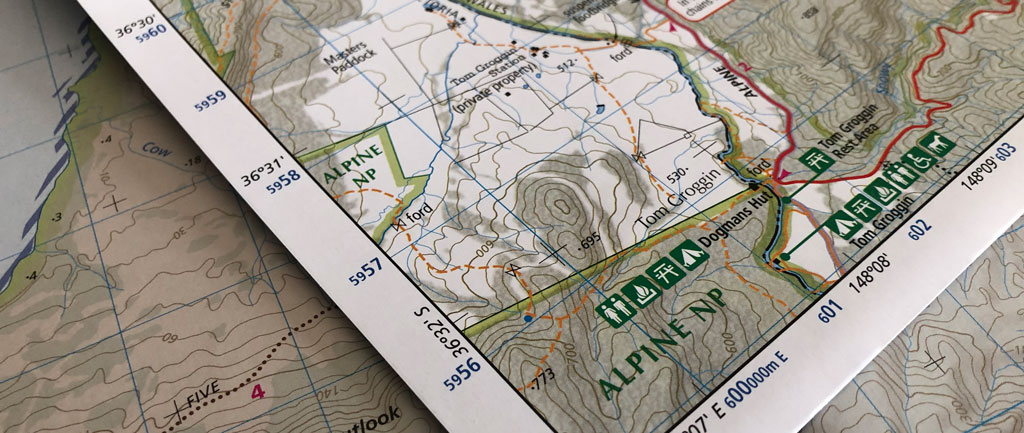
Note the latitude and longitude
If you’re traveling to the next town, this isn’t so important. But if you are hikinhsailing, flying, or touring long distances, this might be useful.
- The latitude refers to the distance in degrees north or south of the equator.
- The longitude refers to the distance in degrees east or west of the Greenwich Meridian Line.
- Each degree is divided into 60 minutes, with each minute representing a nautical mile (or 1.15 land miles/1.85km). This means that one degree is the equivalent of 60 nautical miles or 69 land miles/111km.
- The latitude is represented by the numbers on the side of the map.
- The longitude is represented by the numbers at the top and bottom of the map.
Where the latitude and longitude cross at your location is your point of reference. Latitude and longitude points are often used when there are no landmarks or roads to help determine a location.
Tip: If you have trouble remembering which is which, the longitude lines are “long.” The diameter of the longitudinal lines is roughly constant, whereas the latitude lines get progressively smaller, the further they are from the equator.
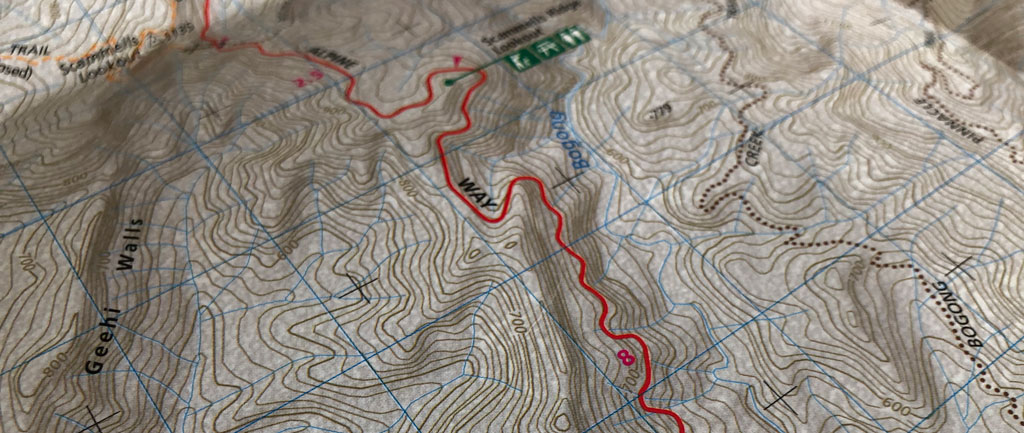
Learn to read contour lines
Contour lines on a map represent how high or flat the land is. Each line represents a standard height above sea level.
- When contour lines are close together, this means that the gradient is steep (the closer together, the steeper the gradient becomes).
- When the contour lines are further apart, the gradient is flatter, so the further apart they are located, the flatter the ground will be.
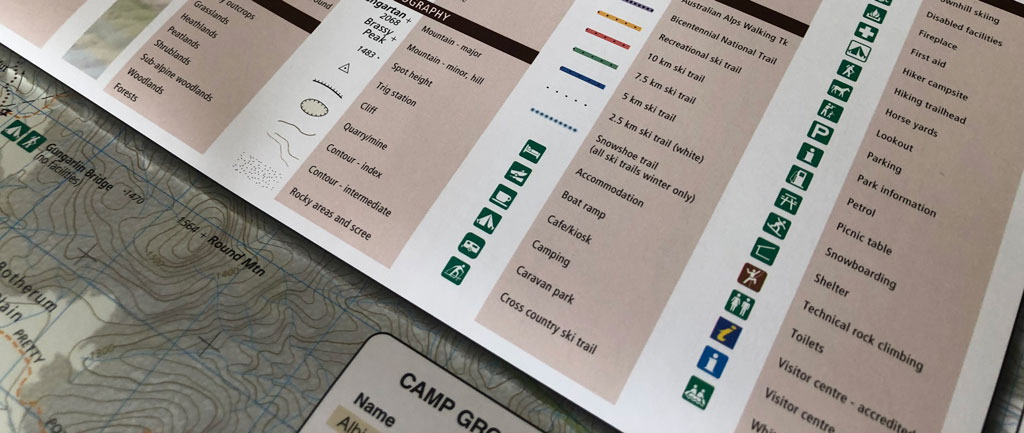
Examine the legend
Most maps have a legend or key of symbols on the map itself. Get familiar with how your map represents data—that is key to understanding the rest of the map. In general, maps do the following:
- Lines in varying sizes, colors, and unbroken or broken lines depict roads, from lanes to freeways and all in between.
- Mountains tend to be shown as brown or green, and are height-dependent: darker at the bottom, lighter or white at the top.
- Rivers, lakes, the ocean and other water bodies are generally shown in blue.
- Forests, woods, parks, golf courses, or other large bodies of trees or green space are usually depicted in green.
- Towns and city limits are often shown in a pastel pink or yellow, and the size and boldness of their names indicate relative population size or importance.
- Buildings tend to be shown in gray or black colours.
Now that you’ve learned how to read a map, let’s learn how to use it!
Check out Part 2 of the Choosing & Using a Map series, where Darren shows you how to find your location and direction.
Visit Trail Hiking Australia for more tips, tricks and ideas for your next adventure, or check our our quality map range at SV Maps.
- Getting the most out of your GIS strategy & investment - July 24, 2024
- Climate Change & Homelessness: Understanding the Connection - July 24, 2024
- Navigating the complexity of geoscience data analysis - July 24, 2024